
One Broken Tile Left Alone Becomes a Much Bigger Problem – Here’s the Fix
Why a Single Tile Turns Into a Chain-Reaction Leak
Do you know what the most common thing I hear before a big repair bill is? “It was just one tile.” One tile doesn’t stay “one tile” for very long. Think of it like missing your stop on the Q train – the moment you step past that one missed connection, the whole trip gets rerouted, longer, and more aggravating than it had to be. One exposed gap in your tile roof is an open invitation for Brooklyn wind, rain, and freeze-thaw cycles to start pulling at everything around it, and by the time it looks like a real problem from the inside, it’s usually been a real problem on the outside for weeks.
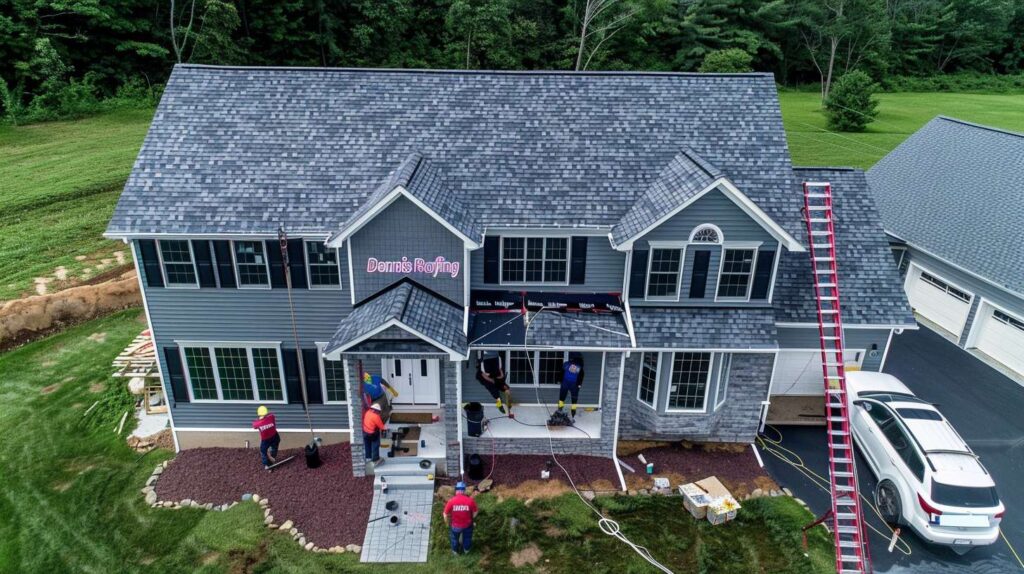
Here’s what I ask people right away: when did you first notice it? That one question changes the entire repair conversation. I remember taking a call at 7:12 on a windy March morning from a brownstone owner in Bay Ridge who said, “It’s literally just one tile, I can see it from the back window.” By the time our crew got there that afternoon, the underlayment below it was already damp – and the owner kept saying he wished he’d called when he first spotted it two weeks earlier. How long it’s been sitting exposed is almost always what determines whether we’re talking about a tile swap or a tile-plus-underlayment-plus-surrounding-inspection conversation.
Quick Facts: A Broken Roof Tile in Brooklyn
What It Usually Means
Exposed underlayment or shifted neighboring tiles – the surface gap is rarely the full picture.
What Speeds It Up
Wind, freeze-thaw cycles, and back-to-back rain events – all of which Brooklyn delivers regularly.
What Homeowners Notice First
A visible crack, slipped tile, unexpected draft, ceiling stain, or occasional drip after hard rain.
Best Next Move
Schedule roof tile repair services before the next weather event – not after it confirms your suspicions.
Where Small Tile Damage Gets Aggressive Fast
Valleys, Edges, and Flashing Are the Transfer Points
Last Tuesday in Borough Park, I had this exact call. A landlord with a three-story attached row building noticed one cracked tile near the rear parapet and figured it could wait until he got a few quotes together. Brooklyn’s attached housing stock – brownstones, row buildings, small multifamily walk-ups – creates wind corridors between structures that concentrate pressure in ways a freestanding suburban house just doesn’t deal with. Aging flashing details on rear additions, shared parapets on adjoining walls, low-slope runs over kitchen extensions – these are all spots where one small tile failure doesn’t stay small for long.
At the edge, near a valley, or around flashing – that’s where small issues get ambitious. I once spoke with an older couple in Dyker Heights after a cold snap followed by freezing rain, and they were convinced their draft was coming from the windows. Our inspection found a slipped tile had opened a path for moisture and air near the roof edge, and the husband went quiet when he realized the “little roof thing” had been affecting their bedroom for most of the winter. Water doesn’t flow politely from Point A to Point B – it follows the path of least resistance along underlayment, battens, and decking seams, and it can be three or four feet from where it entered before it decides to show up inside by the next rain.
The stain on your ceiling is usually late to the party.
| Tile Location | What Usually Happens Next | Hidden Risk Level | Recommended Timing |
|---|---|---|---|
| Open Field of Roof | Surrounding tiles shift from wind load; underlayment slowly exposed to UV and rain | Moderate | Within a week; don’t let adjacent tiles loosen further |
| Roof Edge | Wind uplift accelerates tile loss; water runs behind fascia and into soffit or wall cavity | High | ASAP – edge failures spread fast in Brooklyn wind corridors |
| Valley | Water volume concentrates here; breach spreads moisture along the entire valley run | Very High | Same day if possible – valleys handle high water flow with every rain event |
| Around Flashing / Chimney | Damaged tile disturbs flashing seal; water tracks directly into structural seam | Very High | Call immediately – flashing failures cause deep, hidden moisture damage quickly |
| Near Ridge / Hip | Cap tiles shift and expose the ridge; water enters at the highest point and runs down both sides of decking | Moderate-High | Within 2-3 days; ridge cap damage escalates with every rain and wind cycle |
⚠️ Warning: The Stain and the Source Almost Never Line Up
Don’t assume the tile directly above an interior stain is the only problem. Water travels – along underlayment, down battens, across decking seams, and along flashing lines – sometimes several feet before it ever drips through a ceiling. A stain six inches to the left of a light fixture can come from a tile near a valley four feet to the right. A professional inspection maps the leak path, not just the leak spot.
How Roof Tile Repair Services Actually Solve the Detour
When you call Dennis Roofing about a broken or slipped tile, the work doesn’t start on the tile – it starts with a full read of everything around it. Pam Guerrero, after 17 years around Brooklyn roofing crews and scheduling calls that start as “just one tile,” can usually tell when the issue has already moved past the surface just from the homeowner’s description of where on the roof it sits. The inspection-to-repair sequence we use isn’t rushed: exterior photo documentation comes first, then a check of adjacent tiles for slip or crack patterns, then a close look at any valley, edge, or flashing interaction nearby before anyone touches the damaged piece. That sequence is what keeps a single repair visit from turning into a callback.
A roof tile is a little like missing your stop on the D train. You don’t just step back on at the next station and pretend nothing happened – you’ve got to figure out where the route shifted and whether the detour took you somewhere you didn’t plan to go. Putting one tile back without checking whether the surrounding tiles moved, whether the underlayment underneath is still intact, or whether flashing nearby lost its seal is a cosmetic fix with a structural blind spot. Before our crew leaves a job, the homeowner gets a plain-language summary of what was found around the tile, not just what was replaced – because that context is what keeps the next rain from starting the whole chain reaction over again.
What a Proper Roof Tile Repair Appointment Includes
Exterior Tile Assessment & Photo Documentation
Every visible crack, slip, and gap is photographed from multiple angles before anything is touched. This creates the baseline for the repair decision.
Check Surrounding Tiles for Slip or Crack Pattern
Adjacent tiles are checked for looseness, hairline cracks, or shifting – because one failed tile almost always moves its neighbors before a homeowner notices.
Inspect Valley, Edge, and Flashing Interaction
High-risk locations near the damaged tile – valleys, roof edges, and any flashing – are checked to confirm the tile failure hasn’t compromised the seal at those critical points.
Verify Underlayment Exposure or Dampness
The underlayment beneath and around the tile is checked for exposure, puncture, or moisture – because damp underlayment means water has already started moving below the surface.
Replace or Reset Tile and Secure Adjacent Pieces
The damaged tile is replaced or re-secured, and any adjacent tiles that shifted or loosened during the failure are reset and fastened at the same time – not left for a follow-up call.
Final Leak-Risk Review With Homeowner & Maintenance Advice
Before the crew leaves, you get a plain-language walkthrough of what was found, what was done, and what to watch for going into the next season – because understanding what happened is how you keep it from happening again.
What Waiting Usually Adds to the Bill
The Repair Grows in Layers, Not All at Once
Let me be blunt, because waiting is what makes this expensive. A tile repair that costs a straightforward amount on a Tuesday doesn’t double overnight – it grows in layers, quietly, the way moisture always does. First it’s the tile. Then it’s the underlayment underneath it. Then the decking starts to soften if the underlayment goes unaddressed long enough. By the time interior work enters the picture – plaster, insulation, ceiling paint, trim – what started as an exterior fix has become a multi-trade conversation. And honestly, in my experience, the cheapest roofing call is almost always the one made before the second storm, not after the first stain.
One August evening, right before we closed up for the day, a landlord sent photos from a three-family in Bensonhurst after a tenant complained about a brown ceiling ring on the top floor. What started as one cracked roof tile near a valley had let in just enough water over time to stain the plaster, warp a strip of trim near the window, and turn a simple exterior fix into three separate repair conversations – the tile, the interior plaster work, and the trim. Every one of those follow-up conversations could have been avoided with one call after the tile cracked. For landlords with multiple units, that math gets painful fast.
| Myth | Fact |
|---|---|
| “It’s only one tile, so it’s cosmetic.” | Any breach in the tile layer exposes underlayment to weather. That starts a moisture clock – one that doesn’t stop between rainstorms. |
| “If there’s no drip yet, it isn’t urgent.” | No drip just means water hasn’t saturated through yet – it’s likely already moving along the underlayment or decking. Waiting for a drip means the damage is already done. |
| “The ceiling stain tells me exactly where the roof damage is.” | Water travels before it drips. The stain location rarely matches the entry point – water tracks along joists, decking, and flashing lines before showing up below. |
| “A handyman swap is the same as a roofing repair check.” | Replacing the visible tile without checking underlayment, adjacent tiles, and nearby flashing is a surface fix. A professional roof tile repair inspection finds what the surface swap misses. |
Questions Brooklyn Homeowners Ask Before Booking the Repair
Want to know if your situation sounds small or already halfway to a bigger detour? Asking early is almost always the right call – a quick description and a couple of photos can save you a much longer conversation later. Brooklyn weather doesn’t give much warning: a warm stretch followed by hard rain, or a cold snap on top of an already-wet roof, can take a minor issue and move it several steps forward overnight. And if you’re in an attached building, one more reason to move fast – what spreads on your roof can show up in your neighbor’s ceiling before it shows up in yours.
Before You Call: What to Gather
Note: Do NOT climb onto the roof. All of these can be done safely from the ground or a window.
-
✓
Photo from the ground or a window – two angles if possible, one close and one showing surrounding tiles -
✓
When you first noticed it – even a rough timeframe like “after last Tuesday’s storm” helps -
✓
Whether it changed after wind or rain – did it get worse, did a new crack appear, did a neighbor notice a tile on the ground? -
✓
Any interior stain, drip, or draft notes – where in the home, which room or ceiling, and when it appeared -
✓
Location clue for the tile – is it near the edge, over a valley, on the chimney side, near a parapet, or close to a skylight? -
✓
Safe access notes – is there rear yard access, an alley alongside the building, or limited street-side clearance? This helps us plan the visit.
If you’ve spotted one cracked, slipped, or missing tile on your Brooklyn home or building, call Dennis Roofing before the next rain turns a short repair into a full detour – because the first conversation is almost always the cheapest one, and we’d rather have it now than after the ceiling stain shows up.