
Roof Flashing That Fails Gets Missed Until There’s Water Damage – We Fix It Before Then
The spot on the ceiling is usually the wrong suspect
If the stain appeared after the storm, your instinct is to look straight up from it and assume that’s where the roof let water in – and that instinct is almost always wrong. The visible mark on your drywall or plaster is the end of a story that started somewhere else entirely, often several feet uphill and through a flashing detail nobody’s touched in years.
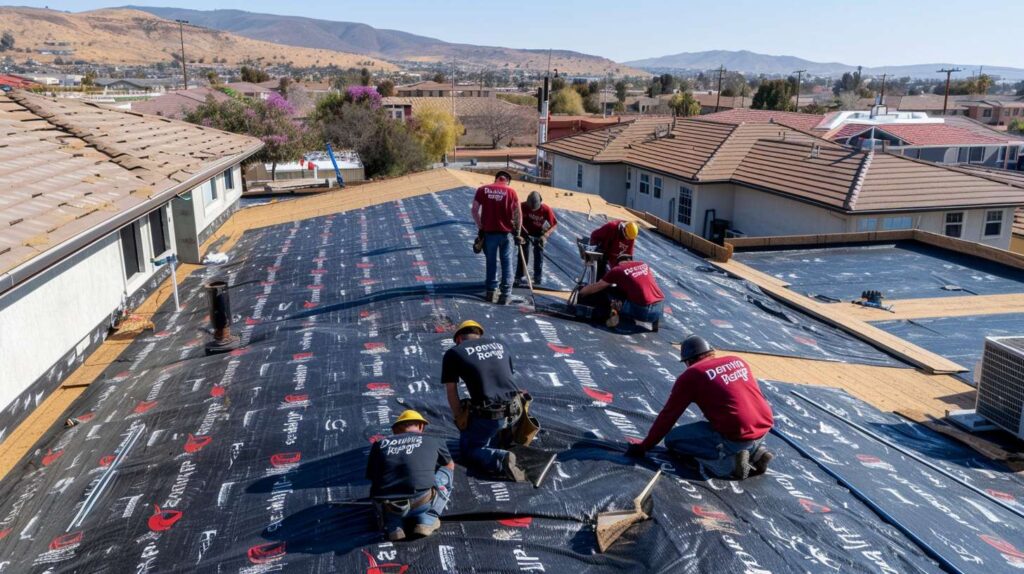
A roof leak is a terrible actor – it shows up onstage long after the real mistake happened backstage. Water enters at a small, hidden connection point – a loosened counterflashing joint, a corroded step flashing tab, a cracked apron edge – and from there it follows the path of least resistance: across decking, down a joist, through a masonry bed joint, or along the underside of a membrane seam. The visible drip is essentially a special effect. The rigging failure happened quietly, out of sight, before the show even started.
Does it worsen during wind-driven rain?
✅ Check chimney, wall, parapet, skylight, and bulkhead flashing first. Wind-specific leaks strongly suggest a flashing detail failure – not the main roof field.
Leak appears in calm rain only. Still inspect uphill transitions – stain directly below the leak point is uncommon.
Is there plumbing or HVAC above the stain?
Investigate interior source first, but don’t rule out a roof leak – water travels.
Roof inspection still needed. Water may be traveling from a flashing failure several feet away.
A drip that seems minor at the ceiling level can mean soaked insulation, hidden wood rot in your rafters, and mold growing inside your wall cavity – none of which you can see until the damage is already significant.
- Relying on roof cement smears or caulk-only patches leaves the actual water entry path intact – so the drip comes back, usually worse.
- Assuming the nearest roof feature caused the leak is almost always a wrong guess. The water route must be traced, not assumed.
- Risks of delay include: stained and cracked plaster, wet insulation that never fully dries, structural rot at joist ends, mold in enclosed wall assemblies, and repeated contractor callbacks that still don’t stop the leak.
- Every storm after the first one makes the secondary damage worse – not proportionally, but exponentially.
Where flashing failures hide on Brooklyn roofs
Chimneys, parapets, bulkheads, and side walls cause the most confusion
Three bricks above the roofline is where I start looking. Masonry interfaces – where brick, mortar, and sheet metal all have to get along for decades – are where the story usually begins. On Brooklyn brownstones and rowhouses, you’re dealing with old materials, settled walls, and chimney stacks that have moved slightly every winter since before anyone reading this was born. The flashing terminations at these junctions crack, open, or corrode quietly. Add in Harbor wind patterns that hit the borough sideways during northeast storms, patched parapets that have been re-capped with mismatched material, or old satellite dish penetrations that were “sealed” with whatever was on the truck that day, and you’ve got a neighborhood full of flashing details waiting for one bad storm to show their hand.
When I ask, “Did it drip only during wind-driven rain?” I’m not making conversation. That single question tells me whether I’m looking at a vertical interface failure – a sidewall, a counterflashing joint, a parapet cap – rather than a flat field issue. Directional leaks have directional sources. I’m Stephanie Chu, and in 17 years tracing flashing-related leak paths on Brooklyn rowhouses and mixed-use buildings, I’ve found that the answer to that one question narrows the search radius by half before I even get on the roof. Wind-driven leaks at side walls almost always come down to counterflashing that’s been bent, separated, or never properly embedded in the masonry reglet to begin with.
I learned this on a wet April roof in Brooklyn. A Park Slope homeowner had me out because the drip was coming down near the living room skylight – she’d already had one contractor caulk around the skylight frame twice. I started uphill. The chimney flashing, about twelve feet away and three feet higher on the roof plane, had opened at the base just enough that water was tracking under the modified bitumen membrane, crossing a joist bay, and then appearing near the skylight like an uninvited guest who’d walked three rooms through the house before making a scene. The skylight was fine. It had never been the problem. We replaced the chimney base flashing and step flashing integration, and that living room has been dry ever since.
| Roof Detail | What Fails | What the Homeowner Usually Notices Indoors | Why the Stain Appears Away From the Failure |
|---|---|---|---|
| Chimney Base Flashing | Metal pulls away from masonry; mortar joint cracks open | Stain on ceiling near fireplace or several feet downhill on the same floor | Water enters at base, runs under membrane to lowest available point before dropping |
| Chimney Counter Flashing | Reglet joint opens; metal rusts through at fold line | Intermittent drip behind or beside chimney breast during heavy rain | Water enters above roofline, tracks down masonry face inside wall before reaching ceiling |
| Parapet Wall Flashing | Cap flashing lifts; coping joints open; membrane termination cracks | Water at top-floor wall line, often near corners; bubbling paint low on interior wall | Water enters at parapet height, saturates wall assembly, exits at thermal bridge point or window frame |
| Step Flashing at Side Wall | Individual step tabs slip, rust, or were never properly overlapped | Staining along the wall-ceiling junction on a gable-end room; appears only in wind | Water enters at one step tab but runs down behind siding or wall sheathing before dropping |
| Apron Flashing at Bulkhead | Front flashing lifts or was never properly set into membrane; old cement patch cracks | Dripping around the bulkhead door frame on the top floor stairwell | Water enters at base of bulkhead, channels behind door surround and down framing |
| Skylight Flashing | Saddle or side flashing opens; self-adhesive flashing tape delaminates | Drip at skylight frame, but ceiling stain sometimes appears downhill of unit | Water enters at uphill or side edge and tracks across curb base before dropping |
| Pipe Boot / Flashing Transition | Rubber boot cracks or collar separates from pipe; original install was caulked only | Small ceiling stain near bathroom exhaust or vent stack that worsens slowly | Water tracks down pipe exterior below roof deck before finding a horizontal surface |
| ❌ Myth | ✅ Fact |
|---|---|
| The drip is directly under the leak point. | Water travels along decking, framing, and masonry before it drops. The stain and the entry point are frequently several feet apart. |
| Skylights are always the culprit when the drip appears nearby. | The skylight is often the delivery address, not the origin. Uphill chimney or wall flashing is the real culprit more often than most people expect. |
| If it didn’t leak during a calm rain, the repair worked. | Many flashing failures only activate under wind pressure. Calm rain proves nothing about a wind-exposed flashing joint or counterflashing separation. |
| Roof cement is a real repair. | Roof cement is a temporary stopgap, not a flashing repair. It cracks, shrinks, and traps moisture underneath – and the water path underneath it remains open. |
| Flashing is minor compared to shingles or membrane. | Flashing is where the roof meets everything that interrupts it. Those interruptions are precisely where water enters. A perfect membrane with failed flashing is still a leaking roof. |
How a proper flashing repair visit should actually work
Here’s the part homeowners hate hearing: finding the stain is easy. Proving the entry point is the real work, and it takes time most quick-fix visits don’t allow for. And honestly, the most expensive roof leak is the one “repaired” three times with the wrong theory. A proper visit means mapping the indoor stain pattern first, then getting on the roof to inspect every uphill transition before touching anything. Where needed, that means lifting tabs, pulling back membrane edges, checking behind counterflashing – not just looking at the surface. Failed patch materials have to come off completely, not get buried under a new layer. New metal gets set in and tied back into the existing roof system correctly, with termination points secured and sealed against the specific movement patterns of your building. Then you test it – water, time, check again – and document what was opened and what was installed. Guessing isn’t a repair strategy.
-
1
Interior stain mapping and moisture assessment. Before going on the roof, we document the stain location, check for active moisture with a meter, note which direction the wall faces, and record what weather triggered the drip. This shapes the entire inspection that follows.
-
2
Exterior inspection of all uphill transitions. We start above the stain and work uphill – chimney, parapet, bulkhead, skylight, pipe boots, side walls – looking for open joints, lifted metal, cracked coping, or evidence of prior patch attempts before we touch a single fastener.
-
3
Identify movement, open joints, corroded metal, and patch layering. We look for thermal movement gaps, rust-through at fold lines, counterflashing that’s no longer embedded, and any location where sealant has been stacked over old sealant over old metal – the “layers of excuses” pattern.
-
4
Remove temporary sealants and damaged flashing components. All roof cement, caulk patches, and failed flashing metal come off before anything new goes in. Burying bad material under new material is how repeat leaks happen. The substrate gets assessed and dried before we proceed.
-
5
Install new flashing integrated with the existing membrane or shingles. New metal is set, overlapped correctly, and secured at termination points that account for the building’s specific movement – not just nailed flat and called done. Where masonry is involved, reglets and sealant get matched to the joint type.
-
6
Water-test the area and document the completed repair. We run water over the repaired detail and check the interior for response. What was opened, what was installed, and where it sits on the roof gets documented – so if there’s ever a question later, there’s an actual answer instead of a shrug.
Signs the leak pattern points to flashing, not the main roof field
The weather pattern matters as much as the stain pattern
Bluntly, flashing gets ignored because it’s not dramatic. It’s not a missing shingle. It’s not a collapsed section. It’s a half-inch gap at a metal fold that you’d have to know where to look to even notice. But the clues are there if you know what to read. A leak that only shows up during wind-driven rain – not calm rain – is practically pointing at a vertical interface. Staining that tracks along a chimney breast rather than spreading from a center point is a different shape than a field failure. Bubbling paint near top-floor wall lines, dripping at the bulkhead door frame on the stair landing, or a ceiling mark that comes back within a week of a roof cement patch – any of those patterns is the flashing telling you to pay attention. Don’t let the stain distract you from the weather conditions that made it appear.
One February afternoon in Bay Ridge, I got a call from a retired piano teacher on Senator Street who put it perfectly: “The ceiling only cries when the wind comes from the harbor.” That line stuck with me, because she was exactly right – and she’d been living with this for two winters. The counterflashing on the side wall of her chimney had been bent outward years earlier during a satellite dish installation on the adjacent parapet. On calm rainy days, nothing happened. The opening wasn’t positioned to catch it. But in a northeast storm with harbor wind hitting the building sideways, water was practically being handed into the wall assembly through that bent metal edge. It wasn’t a difficult repair once we knew where to look. The difficulty had been that every previous look started at the ceiling instead of the roof.
- ✅ The leak appears uphill from the stain. Water entered higher on the roof plane and traveled before dropping.
- ✅ It only leaks in wind, not calm rain. That directional pattern points to a vertical interface detail, not the flat field.
- ✅ The leak came back after caulk or roof cement was applied. The surface was treated, but the water route underneath was never closed.
- ✅ Water tracks near a masonry transition. Chimney base, parapet cap, bulkhead base – anywhere brick meets metal is a candidate.
- ✅ Interior damage shows after storms but the main roof surface looks mostly intact. If the field looks fine but water still appears, flashing details are the next place to look – not the last.
Questions worth asking before anyone says it is fixed
Did anyone actually show you the water route, or only point at the stain?
That question matters more than most people realize. I once got to a mixed-use building off Metropolitan Avenue in Williamsburg just before dusk, and the deli owner on the ground floor was at the end of his patience – the leak had been “fixed” twice already in eight months. Two different contractors, two invoices, same wet ceiling. Nobody had opened the apron flashing at the base of the rooftop bulkhead, where roof cement had been layered over old corroded metal like bad stage makeup over a broken prop. We pulled it all apart, replaced the apron flashing properly, tied it back into the membrane, and the next big storm was the first quiet one they’d had in two years. The insider tip I’ll give you plainly: if a leak keeps returning at the same ceiling spot, ask what uphill transition detail was actually opened and rebuilt – not just sealed over. If the answer is vague, or if nobody can tell you exactly what metal was replaced and where, the repair was almost certainly superficial. Repeated visits at the same leak address the symptom line, not the entry line.
If the leak pattern has already fooled one repair attempt – or if you’ve been watching that ceiling stain grow a little larger after every storm – call Dennis Roofing for roof flashing repair services in Brooklyn, NY. We’ll trace the water route correctly the first time, not just point at the stain and guess.