
Most Roof Leaks Start at the Flashing – Here’s How We Find and Fix Them
Why Leak Stains Rarely Point to the Actual Entry Spot
It’s natural to want a cheap answer. But many roof leaks don’t start in the open field of the roof at all – they begin at the small metal transition points where water changes direction, slows down, or moves from one material to another. Water turns at seams. It backs up at overlaps. It transfers at joints before it ever shows up as a stain on your ceiling two rooms away.
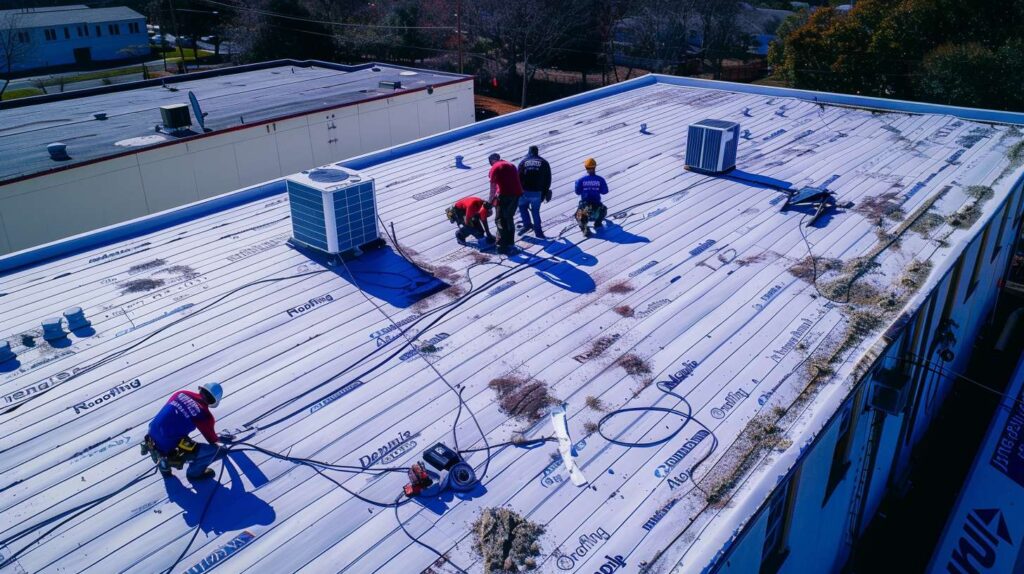
If I asked you where water hesitates before it gets in, would you point to the shingle or the joint? Most people point to the shingle – and that’s the assumption that leads to unnecessary replacements. Carla Ndukwe, after 17 years handling leak diagnostics around Brooklyn roof transitions, knows the stain almost never tells the full route. The ceiling spot is where the water arrived, not where it started. Leak tracing begins at joints, sidewall intersections, penetrations, and parapet edges – not by eyeballing the shingle field from a ladder.
| Myth | Real Answer |
|---|---|
| The wet spot on the ceiling is directly under the leak. | Water travels along rafters, sheathing, and wall cavities before dripping. The entry point at a chimney or sidewall flashing can be several feet uphill from the interior stain. |
| New shingles mean the flashing is fine. | Shingle replacement doesn’t automatically include flashing replacement. Old step flashing at chimney or wall intersections is often left in place, and it continues to fail regardless of what’s on top. |
| Tar around the flashing proves the area was sealed. | Roof cement shrinks and cracks with temperature swings. Tar is temporary at best. It can also trap moisture against metal flashing and accelerate corrosion underneath. |
| If it only leaks during wind-driven rain, it must be the siding. | Directional rain is one of the clearest indicators of lifted or improperly lapped counter flashing at parapets and wall intersections – not siding failure. |
| A small drip means a small repair. | Drip rate doesn’t indicate repair scope. A slow drip from a vent stack can mean fully rusted flashing under two layers of patch material – a repair that requires exposing and replacing the entire transition. |
Quick Facts – Brooklyn Flashing Leak Calls
Most Misleading Clue
Interior stain location – it almost never marks the actual entry point
Most Common Failure Points
Chimney base, sidewall step flashing, skylight apron, vent stack collar
Weather Pattern That Reveals Hidden Defects
Wind-driven rain – exposes lifted counter flashing and directional entry points
Repair Priority
Stop water at the transition point before replacing or patching surrounding materials
Tracing the Water Route Before Any Repair Is Proposed
What Gets Checked First at Chimneys, Parapets, and Sidewalls
At the chimney base, I slow down first. One February morning in Bay Ridge, I was on a row house roof while the owner kept insisting the problem was the shingles – he’d paid to replace them three years earlier and they looked fine to him. He was right. The shingles were fine. The leak was coming from step flashing buried under hardened tar along the sidewall, and the water had been traveling sideways through the roof assembly before it showed up in the bedroom ceiling. That’s a classic Brooklyn row house situation: two buildings sharing a party wall, a tight sidewall channel, and step flashing that nobody touched during the shingle job.
I’ve stood on roofs where everything looked clean until the rain line told the real story. The inspection sequence narrows: start from the whole roof plane, move to the section, move to the seam, then to the exact overlap where the failure begins. At chimneys, that means checking whether the counter flashing is still seated in the mortar joint or has pulled free. At sidewalls, it means looking for rust streaks below flashing laps, lifted edges, and sealant that’s shrunk away from the metal. At parapets – and Brooklyn has plenty of them on attached rowhouses near Atlantic Avenue and on brownstone blocks from Prospect Heights down to Flatbush – it means running a hand along the cap and checking whether the through-wall flashing is still integrated or has separated from the roofing below.
A dry shingle field can still feed a wet wall joint.
Leak Diagnostic Sequence – Suspected Flashing Failure
| Interior Symptom | Likely Uphill Entry Point | What the Roofer Looks For | Typical Repair Direction |
|---|---|---|---|
| Water stain spreading across top-floor ceiling near the front wall | Parapet cap or counter flashing at the street-facing wall | Lifted cap flashing, deteriorated through-wall flashing, open mortar at reglet | Re-seat or replace counter flashing; repoint mortar joint; re-integrate with roofing membrane |
| Brown stain on bedroom ceiling, one side only, growing after heavy rain | Chimney step flashing or base flashing on the downhill side | Rust at step flashing laps, separated base flashing, sealant cracking at cricket | Replace step flashing courses; re-integrate with shingles; reseat counter flashing in mortar |
| Ceiling bubble or drip directly below a rooftop skylight | Skylight apron flashing or side flashing lap | Failed apron lap, lifted side flashing, cracked curb sealant, exposed fasteners | Replace apron and side flashing; re-lap into roofing system; eliminate exposed fastener penetrations |
| Stain at the corner where two walls meet the ceiling | Sidewall step flashing at a party wall or adjoining building line | Buried and hardened step flashing, improperly lapped courses, missing kick-out flashing | Expose sidewall flashing, replace corroded courses, install kick-out flashing at base termination |
| Slow drip near a bathroom vent or pipe collar, no obvious source | Vent stack flashing collar or pipe boot | Cracked rubber boot, separated metal collar, rusted base plate hidden under sealant layers | Replace pipe boot and base flashing; clear prior sealant buildup; re-integrate with underlayment |
Sorting Temporary Sealant From a Real Flashing Repair
Here’s the part homeowners usually don’t love hearing. Sealant isn’t always wrong – it has a place in a properly executed flashing repair, usually as a supplemental detail at a termination edge or a small gap in counter flashing. But sealant is not a substitute for sound metal, correct overlap, or proper integration with the roofing system. The “easy fix” is often just postponing the moment someone has to expose the actual transition and deal with what’s underneath. That’s not a knock on any one contractor – it’s just how short-term thinking about water manifests over time.
Bluntly, flashing fails in quieter ways than most people expect. Late one afternoon in Flatbush, I was working with a landlord who wanted a tube-of-sealant answer because his new tenant was moving in the next morning. When I peeled back one section near the vent stack, I found three separate repair layers from three different years, all hiding rusted flashing underneath. The leak wasn’t sudden – it was just finally visible through the ceiling. The inside tip here is this: whenever you see multiple caulk colors, mismatched tar patches, or what looks like a small area with an unusually complicated surface, assume the metal beneath deserves inspection before anything else gets spread over it. Each layer that goes on top makes the next diagnosis harder and the eventual repair larger.
⚠ Warning – Repeated Roof Cement at Flashing Joints
Thick tar or repeated sealant applications at flashing joints don’t just fail to fix the problem – they actively make diagnosis harder. Here’s what builds up over time:
- Layered tar traps moisture against metal, accelerating rust in step flashing and base flashing that would otherwise be visible and catchable early
- Repeated sealant applications can conceal rusted step flashing courses entirely – the metal looks “covered” but is corroded through underneath
- Heavy tar buildup hides fastener penetrations that were driven directly through flashing rather than properly lapped – common in older repair work
- When a proper repair is finally needed, surrounding shingles, underlayment, and adjacent flashing all have to be peeled back further because the original failure zone has spread under the patch layers
Reading Directional Rain Clues on Brooklyn Rooflines
When Wind Exposure Changes the Diagnosis
A roof leak is a lot like a missed subway transfer – the mistake happens at the connection, not the whole route. One Saturday during a hard storm in Crown Heights, I got called to a brownstone where the top-floor tenant said the leak only happened “when storms come from the church side.” That detail ended up being the whole case. I traced it like a line on a route map: the storm came in from the east, hit the parapet along the church-side wall, pushed water up under the counter flashing that had lifted just enough on that one exposure, and it traveled down the inside face of the parapet before showing up at the ceiling joint. Dry the rest of the time. Invisible during a normal vertical rain. Only that transfer point – under directional pressure – was letting water through.
Brooklyn’s building stock makes directional rain clues especially reliable. Row houses and brownstones sit tight against each other, which means wind gets funneled between buildings and pressurizes specific wall faces differently than open suburban lots. A roof on a block off Eastern Parkway might catch storm exposure from one direction while the identical building two doors down is sheltered by a taller neighbor. Parapets on the exposure side take more movement stress. Chimney clusters on shared walls create shadow zones and water concentration points. Counter flashing along a party wall on the sheltered side might last decades; the same detail on the wind-facing side can fail in seven years. When a leak only happens in certain storms, that’s not a mystery – that’s a directional clue telling you exactly which transition to inspect first.
Does This Leak Pattern Point to Flashing Failure?
YES →
YES ↓
NO ↓
NO →
YES ↓
NO ↓
Questions to Ask Before Approving a Flashing Leak Fix
Before you say yes to a repair, do you know whether the contractor found the failed overlap, the failed metal, or just the wet area? A real explanation should include the exact entry point, the path water took from that point to where it showed up inside, what condition the metal is in, which surrounding roofing materials have to be lifted or replaced, and whether the repair is worth doing in isolation or whether the adjacent flashing system is close enough to the end of its life that a partial fix will just move the problem two feet over. At Dennis Roofing, that’s the explanation we give before we propose anything – not after.
Common Questions About Flashing Leak Repairs