
Getting Your Roof Flashing Repaired? Here’s What It Should Actually Cost
I can’t tell you your exact price without seeing the roof – but here’s a real range: simple reseals and minor corrections run $350-$750, standard reflashing and resecuring jobs land between $800-$1,600, and more involved parapet, curb, or wall rebuilds in Brooklyn regularly hit $1,700-$2,800 and up. The reason one job is a $350 touch-up and another turns into a $2,800 problem has almost nothing to do with how big the piece of metal looks – it has everything to do with where water actually entered versus where it decided to show itself.
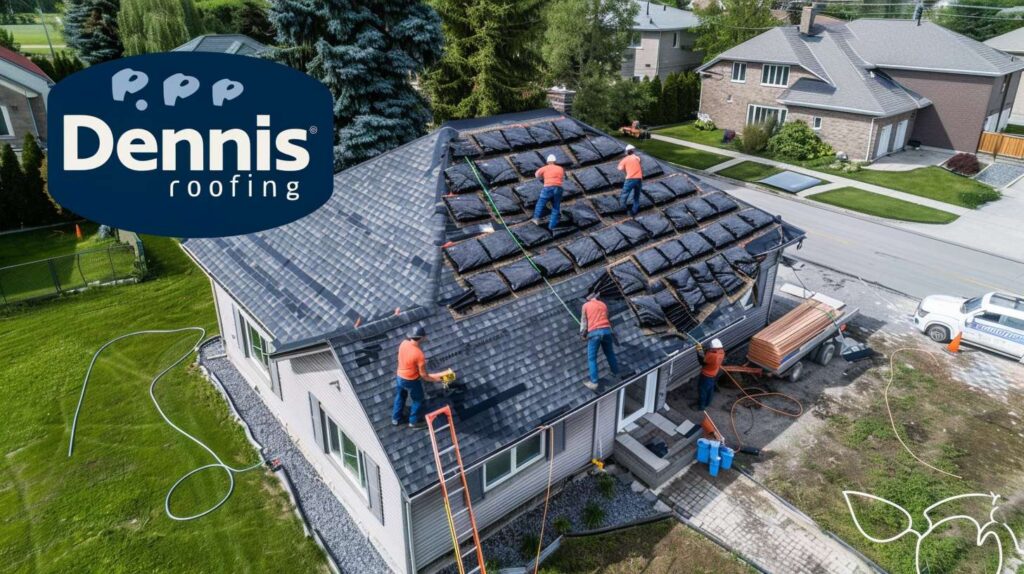
What Brooklyn owners usually pay for flashing repair
I can’t tell you which tier your job falls into based on a phone description alone, and I’d be doing you a disservice if I tried. What I can tell you is that the same visible leak – a stain on your top-floor ceiling after rain – can land in three different price brackets depending on whether water slipped under a loose pipe boot, ran behind a parapet cap for six feet before dropping in, or soaked through rotted wood nailers that nobody’s touched since the Carter administration. The failure path is what determines the bill, not the stain on the ceiling.
On a Brooklyn roof, $600 is either fair or nonsense depending on what’s under the metal. People assume flashing is always a quick, cheap fix because the physical piece of metal is small. That assumption is wrong more often than it’s right. What actually moves the price is labor to access a tight rooftop on a narrow block, the cost of matching metal gauge and type, whether masonry needs to be cut and repointed where flashing ties in, and whether the substrate underneath is still solid wood or something that looks like wet cardboard. A $600 quote that doesn’t address all of that is just renting time before the next leak bill.
Why one leak point can produce three different estimates
The route people see versus the route water actually takes
Here’s the part customers usually hate hearing: quotes diverge because some contractors are pricing a surface patch while others are pricing the actual failure path. I’m Mike Donahue, and after 19 years in roofing – including an earlier stretch restoring prewar Brooklyn metal details on cornices, tin ceilings, and parapet caps – the first thing I do on any flashing call is trace the route, not just inspect the stain. That background in old Brooklyn metalwork is exactly why I started approaching every job as a diagnostic problem: where did the water enter the building’s envelope, and where did it detour before someone noticed it?
If I’m standing next to you by the roof hatch, the first thing I’m asking is: where is the water entering, and where is it finally confessing? The visible stain on your ceiling is one station on the line. The actual failure point is another stop entirely – sometimes two or three stops back. I’ve seen this play out hard in Sunset Park, on a six-story mixed-use building, in freezing rain at 7:10 in the morning, watching water disappear behind a parapet cap and show up twenty feet away over a dentist’s waiting room on the second floor. The owner was convinced he needed membrane work. What he actually needed was rebuilt wall flashing and a mason who knew not to bury the weep paths. Brooklyn’s parapet-heavy rowhouses, rooftop bulkheads, and cramped mixed-use rooflines make this problem worse – water has more walls, more joints, and more wrong turns available to it. That’s exactly why three contractors can stand in the same spot and price three different jobs.
When a cheap flashing fix is real and when it’s just rent on a future leak
Three winters ago, I peeled back a neat-looking patch on a Carroll Gardens restaurant roof and found the real bill hiding underneath. The owner had a recurring leak that only appeared during dinner rush – specifically when the kitchen exhaust was pushing hard and pressure changes were helping moisture move behind a curb flashing that had been pieced together with mismatched metals. The visible repair looked clean. The sealant was fresh. But someone had stacked two incompatible metals without proper isolation, and the galvanic corrosion underneath had eaten through the substrate. The owner kept asking why the scope couldn’t just be “caulk and go,” and I had to explain that flashing is like traffic control – if one turn is wrong, the whole intersection backs up. That cheapest flashing quote is not a repair price. It’s a postponement price. A few-hundred-dollar quote can be legitimate, but only when the metal is intact, the tie-in is sound, no substrate damage exists, and the water route has actually been diagnosed – not just the surface appearance checked.
| Category | ⏳ Postponement Fee | ✅ Real Repair |
|---|---|---|
| Scope | Surface sealant over existing metal, no removal | Old material removed, substrate inspected, new flashing installed and tied in |
| Expected Lifespan | 6 months to 2 years if you’re lucky | 10-20+ years when properly executed |
| Leak Recurrence Odds | High – failure path was never addressed | Low – if route was correctly diagnosed and rebuilt |
| Materials Used | Caulk, roof cement, or lap sealant over original | Specified metal gauge, compatible sealant, correct membrane integration |
| Water Route Corrected? | No – water is still following the same path | Yes – entry point identified, route interrupted, rebuilt so it can’t repeat |
If a quote only mentions “caulk entire area,” “apply roof cement,” or “seal flashing” without specifying the flashing type, the tie-in points, or whether metal will be removed and reset – that’s not a scope. That’s a product description.
Vague language is how recurring leak bills get disguised as savings. A real estimate identifies what failed, what gets removed, what gets installed in its place, and how it connects to the surrounding roof system. If the proposal doesn’t answer those four things, it’s not a flashing repair – it’s a postponement in writing.
Signals that push your flashing bill up fast
Access, masonry, and hidden damage
Blunt truth: flashing is small until it fails, and the things that make it expensive are almost never the metal itself. The big cost escalators are difficult roof access on a tight Brooklyn block, multiple layers of previous repair materials that have to be stripped cleanly, wet insulation that’s holding moisture against the substrate, rotted wood nailers that need full replacement before anything else gets fastened, masonry that needs cutting and repointing where counterflashing ties in, custom metal bending for a non-standard application, and rooftop equipment congestion that turns a two-person job into a half-day staging operation. Any one of these adds cost. Two or three of them together can double the baseline estimate.
Penetrations, parapets, and bulkheads
A bad flashing repair is like thinking the G train goes where you want just because it shows up on the map. You can apply it in the right general area and still have the water take a completely different route because the actual failure – a split at a counterflashing reglet, a pulled-away base bar, a failed membrane edge at a parapet wall – was never opened up. Skylights, vent penetrations, parapet caps, and rooftop curbs are particularly prone to this because they have more transition points, more places where two different materials or systems have to cooperate. What people think is happening is a simple sealant gap; what the roof is actually doing is channeling water through three different joints before it shows up inside.
Here’s an insider detail worth asking about before you approve any estimate: does the price include removal of the failed material, or is new sealant going over old? What metal gauge and type will be used – galvanized, aluminum, copper, or lead-coated? And does the scope explicitly cover tie-in to the surrounding membrane or shingles? I was on a Bay Ridge co-op a few years back where another contractor had quoted “reseal three penetrations” on what turned out to be split counterflashing, failed lead boots, and screws backed out from years of thermal movement. The cheap quote ignored all of it. On Sunset Park mixed-use rooftops, and on co-op buildings where access involves hauling gear through a tight interior stairwell, staging and setup time can quietly add a few hundred dollars to a job before a single piece of metal is touched – and it should be in the estimate.
- ✅ Exact flashing type – step, base, counter, pipe boot, parapet cap, curb, etc.
- ✅ Repair vs. replacement language – a reseal and a full rebuild are not the same job
- ✅ Surrounding roof tie-in – how new flashing integrates with adjacent membrane, shingles, or masonry
- ✅ Material specification – metal type, gauge, and any underlayment or sealant products being used
- ✅ Access and setup notes – especially relevant on Brooklyn rooftops where staging isn’t simple
- ✅ Disposal and cleanup – old metal, sealant debris, and torn-out substrate need to go somewhere
- ✅ Photo documentation – before and after images of the failure point, not just the finished work
Questions to ask before approving the repair
Before you sign anything, do you know whether you’re paying for a reroute or a repaint? A real flashing estimate should answer where water entered the building envelope, how it traveled to where you noticed it, and what specifically gets rebuilt so it can’t take the same route again.
- Where the leak appeared inside – room, wall, or ceiling location, as specifically as possible
- When it shows up – during rain, after rain, only in heavy storms, or seemingly random
- Your roof type – flat/low-slope, pitched, modified bitumen, TPO, shingle, or membrane
- Nearby penetration, wall, chimney, or parapet – what’s on the roof closest to the leak location
- Age of any prior patch – if someone’s been up there before, say so upfront; it changes the diagnosis
- Photos taken after rain – wet stains, damp ceilings, or pooling water on the roof itself
- Whether the leak worsens in wind-driven rain – this is a major clue that a parapet, wall, or counterflashing joint is involved
- Whether multiple contractors have already attempted repair – if yes, the failure is likely more complex than the surface suggests
The flashing repair quote you want isn’t the lowest one on the table – it’s the one that explains the water’s route, names every failure point, and tells you exactly what gets rebuilt so that route closes permanently. Call Dennis Roofing for a route-based flashing inspection and an estimate that shows you the real leak path, not just where the ceiling got wet.