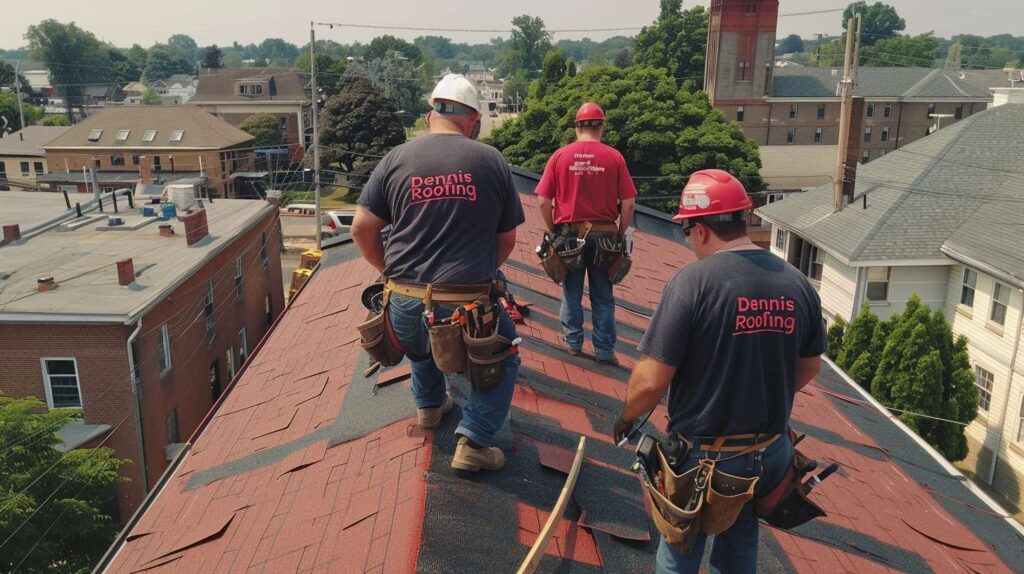
Professional Flat Roof Installation Services in Brooklyn, NY
Here’s something most Brooklyn homeowners don’t realize until they’re dealing with their third leak: the majority of flat roof failures come from what you can’t see-the slope underneath the membrane, the way insulation was laid, how the flashing was tucked behind the parapet-not the brand name on the top layer. I’ve torn off hundreds of flat roofs across Brooklyn over twenty years, and nine times out of ten, when I peel back a failed membrane that’s only seven years old, I find the same problems: no tapered insulation to push water toward drains, vapor barrier installed backwards, or flashing that stops two inches short of where it needs to be. That’s why a professional flat roof installation is about engineering the entire assembly from the deck up, not just rolling out whatever’s on sale at the supply house.
At Dennis Roofing, we install flat roofs on Brooklyn brownstones, row houses, and low-rise buildings the way they should be built-with proper slope, correctly sequenced layers, and flashing details that account for thermal movement and driving rain off the harbor. Every installation starts with the structural deck and builds up through vapor control, insulation, the waterproof membrane, and finally the terminations and penetrations that cause most problems down the road.
What Actually Goes Into a Complete Flat Roof Installation
When someone calls asking about flat roof installation cost, they’re usually thinking about the visible part-TPO, EPDM, modified bitumen-but that membrane is maybe 20% of what determines whether your roof lasts 12 years or 30. The real work happens in the layers underneath.
The structural deck is where we start every assessment. Most Brooklyn buildings have wood decking, sometimes plywood, sometimes tongue-and-groove planks over joists. Before any new roof goes down, we’re checking for soft spots, rot around old drains, and whether the deck can handle additional insulation weight-especially important if you’re thinking about a roof deck or green roof later. On a Sunset Park three-story we worked last fall, the existing deck looked fine from below, but when we exposed it, every third plank near the parapet had water damage from ice damming. We replaced 40% of the deck before the membrane work even started.
Next comes the vapor barrier. In Brooklyn’s climate-cold winters, humid summers-you need to control moisture moving up from the heated space below. We typically install a self-adhered vapor barrier across the entire deck, lapping the seams and sealing penetrations. The trick is understanding dewpoint: if you trap moisture between the wrong layers, you’ll grow mold inside your roof assembly even though the outside stays dry. I’ve seen roofs rot from the inside because someone skipped this step or put it in the wrong position in the stack-up.
Insulation is where most flat roofs gain or lose the performance battle. We use polyisocyanurate (polyiso) boards in most installations-better R-value per inch than EPS or XPS, and it doesn’t absorb water if your membrane ever does fail. But here’s the critical part most crews skip: tapered insulation. Brooklyn flat roofs aren’t actually flat-they need minimum ¼-inch per foot slope to move water toward drains and scuppers. We design a tapered insulation layout for every roof, with crickets behind rooftop units, saddles at ridges, and valleys that channel water exactly where we want it. On a Crown Heights building last spring, the existing roof had been installed dead-flat with no slope-water ponded in six different areas, and the membrane failed in under ten years. We rebuilt it with a full tapered system, and now water clears within two hours of rain stopping.
The insulation also gets mechanically fastened or fully adhered depending on wind exposure and building height. Brooklyn waterfront buildings get hammered by nor’easters coming off the harbor-I’ve seen blow-offs on roofs where someone just loose-laid the insulation under a mechanically-attached membrane. The insulation became a sail and took the whole roof with it.
Membrane Systems We Install Across Brooklyn
Once the foundation is right-deck solid, vapor barrier down, insulation sloped and fastened-then we’re ready to install the actual waterproof membrane. We work with three main systems depending on building type, budget, and what you’re planning to do with the roof surface.
TPO (thermoplastic polyolefin) is what we install on about 60% of residential flat roofs in Brooklyn. It’s a single-ply white membrane that reflects heat, heat-welds at the seams for a continuous waterproof bond, and typically comes in 60-mil or 80-mil thickness. We fully adhere TPO on most brownstones using bonding adhesive-no penetrations through the membrane, and the entire surface is bonded down so wind can’t get under it. The seams get welded with a hot-air gun, creating a seal that’s actually stronger than the membrane itself. TPO handles rooftop traffic reasonably well and holds up to UV exposure better than EPDM. On a Park Slope brownstone we completed two years ago, the homeowners wanted a roof deck for entertaining-we installed 80-mil TPO fully adhered, then built the deck on sleepers so they could remove sections if they ever need to access the membrane.
EPDM (rubber membrane) is the workhorse for budget-conscious installations and buildings where you’re not planning much rooftop activity. It’s a black rubber sheet that goes down in large sections-we can cover a typical Brooklyn row house roof with one or two pieces, minimizing seams. EPDM is fully adhered or mechanically fastened, with seams that use tape or liquid adhesive rather than heat welding. It’s been around 50+ years and we still see EPDM roofs from the 1980s that are holding up, though the black surface absorbs heat in summer. Where EPDM struggles is puncture resistance-drop a tool on it and you might put a hole through, versus TPO which is more forgiving. We install EPDM mostly on buildings with no planned roof access, or as a budget option where the structure won’t support heavier assemblies.
Modified bitumen is the premium choice for Brooklyn buildings where you need serious durability-multi-family buildings with HVAC equipment, roofs with regular foot traffic, or situations where you want a proven system with decades of local performance data. Modified bitumen is asphalt-based, reinforced with fiberglass or polyester, and installed in multiple layers. We typically start with a base sheet mechanically fastened to the deck, then torch down or cold-apply a cap sheet with mineral granules on top. The result is a thick, tough membrane that handles impacts, thermal cycling, and standing water better than single-ply systems. It’s heavier and more expensive, but on a Bed-Stuy four-story building we roofed three years ago with constant HVAC service traffic, the modified bitumen surface still looks new while the neighboring building’s TPO has scuff marks and worn areas around the rooftop units.
Flashing and Termination Details That Prevent 90% of Leaks
Here’s where most flat roof installations fail, and where twenty years of experience makes the biggest difference: flashing. The field of the roof-that big open expanse of membrane-almost never leaks if it’s installed correctly. Leaks happen where the roof meets walls, penetrations, drains, and edges. Every one of those transitions needs specific flashing details that account for thermal movement, water direction, and how different materials expand at different rates.
Parapet walls surround most Brooklyn flat roofs-those short walls that extend above the roof surface. The membrane has to run up the wall, tuck behind the coping cap on top, and seal against brick or masonry that’s moving independently from the roof structure. We install base flashing mechanically fastened to the wall, then a counterflashing that tucks into a reglet (saw-cut groove) in the masonry and covers the top edge of the base flashing. The counterflashing has to be removable so future brick work doesn’t destroy your roof seal. On a Williamsburg building last year, someone had caulked the flashing directly into the brick-when the building settled slightly, it tore the flashing and created leak points along 30 feet of parapet. We rebuilt it with proper two-part flashing that can handle movement.
Drains and scuppers are where water concentrates, so they’re critical details. We install two-part drain assemblies with a clamping ring that sandwiches the membrane between metal components-no reliance on sealant alone. The membrane gets reinforced around the drain with extra plies, and the tapered insulation creates a bowl that directs water toward the opening. Scuppers (openings through the parapet that let water escape) get through-wall flashing and extended conductor heads so water shoots clear of the wall. I can’t tell you how many Brooklyn buildings I’ve seen where scuppers just dump water onto the facade, staining brick and rotting lintels.
Rooftop HVAC penetrations need curbs-raised frames that lift equipment above the roof surface and provide a vertical face for flashing. We build curbs minimum 8 inches tall, wrap them with membrane, and install compression counterflashing where the equipment base meets the curb top. The mistake I see constantly is units set directly on the roof surface with flashing trying to seal a horizontal plane-it always fails. Every penetration needs height so water runs around it, not into it.
Brooklyn-Specific Installation Challenges We Solve Daily
Installing flat roofs in Brooklyn isn’t like new construction in the suburbs. We’re working on 100-year-old buildings with brick parapets that aren’t plumb, adjoining roofs at different heights, shared party walls where you can’t disturb the neighbor’s side, and access limitations where everything goes up through a narrow interior stairwell or gets craned from the street.
The brownstone row house configuration creates specific challenges. Your roof shares walls with neighbors on both sides, so flashing details have to work with existing terminations you can’t modify. The buildings are deep and narrow, meaning deck beams run front-to-back with limited structural capacity for heavy buildup. And almost every brownstone has a rear yard extension-a lower roof section over the back part of the building-which creates an upper-to-lower roof transition that’s a natural leak point if not detailed correctly. We install these transitions with a raised curb and cricket on the lower roof that runs the flashing up above the upper roof surface, so water from above shoots over the joint instead of running into it.
Historic district restrictions come into play in many Brooklyn neighborhoods. Fort Greene, Clinton Hill, Prospect Heights-if your building is landmarked or in a historic district, you might have limitations on parapet modifications, visible membrane color, or rooftop additions. We work with the Landmarks Preservation Commission regularly and know which details need approval and which fall under routine maintenance. Generally, in-kind roof replacement with appropriate materials doesn’t need review, but if you’re changing the roofline or adding structure, you’ll need to submit plans.
Access and logistics separate professional crews from amateurs in Brooklyn. Most buildings don’t have vehicle access to the roof-everything gets staged on the street, carried through the building, or lifted by crane. We coordinate crane days with the city for street permits, notify neighbors, and sequence deliveries so materials arrive exactly when we need them, not three days early with nowhere to store them. On a narrow Cobble Hill street last summer, we had a two-hour crane window to lift insulation, membrane, and equipment to the roof of a four-story building-everything was pre-staged in labeled bundles, and we hit the window perfectly because we’ve done it a hundred times.
Flat Roof Installation Costs and Timeline in Brooklyn
A complete flat roof installation in Brooklyn typically runs $12-$18 per square foot for residential buildings, depending on membrane choice, insulation thickness, existing deck condition, and access difficulty. That price includes tear-off of old roofing, deck repairs up to 20% of the surface area, new vapor barrier, tapered insulation system with minimum R-30 value, fully adhered membrane, all flashing and terminations, and cleanup.
| Roof Size | TPO Installation | EPDM Installation | Modified Bitumen | Typical Timeline |
|---|---|---|---|---|
| 800-1,200 sq ft (typical brownstone) | $10,400-$16,800 | $9,600-$14,400 | $13,600-$21,600 | 3-5 days |
| 1,200-2,000 sq ft (wide row house) | $16,800-$30,000 | $14,400-$24,000 | $21,600-$36,000 | 5-7 days |
| 2,000-3,500 sq ft (multi-family) | $28,000-$52,500 | $24,000-$42,000 | $36,000-$63,000 | 7-10 days |
| 3,500+ sq ft (commercial/large building) | Custom quote | Custom quote | Custom quote | 10-15 days |
Those ranges account for standard installations with normal access and deck conditions. Costs go up if we’re dealing with extensive deck rot, need to match into multiple adjoining roofs at different levels, or have to crane everything because there’s no interior access. Buildings in landmarked districts sometimes need specific approval processes that add time but not usually significant cost.
Timeline depends mostly on roof size and weather. We can complete a typical Brooklyn brownstone flat roof-1,000 square feet, straightforward layout-in three to four days with good weather. Day one is tear-off and deck inspection/repair. Day two is vapor barrier and insulation. Day three is membrane installation. Day four is flashing, terminations, and final details. Larger buildings or complex configurations stretch to a week or more, and we always build in weather contingency-if heavy rain is forecast mid-project, we’ll pause at a weather-tight stopping point rather than rush through critical details.
Why the Installation Method Matters More Than the Brand
Homeowners get fixated on membrane brands-“Should I get Carlisle or GAF or Firestone?”-but honestly, all the major manufacturers make quality products that’ll last 20+ years if installed correctly. What kills roofs is bad installation: mechanically fastened insulation that wasn’t screwed into solid decking, membrane seams that weren’t properly welded, flashing that’s sealed with caulk instead of mechanically attached, or tapered systems that were laid out wrong so water still ponds.
I’ve replaced eight-year-old “premium” TPO roofs that failed because the crew didn’t understand thermal welding-they moved the gun too fast and the seams never fully bonded, so water wicked through the laps. And I’ve seen 25-year-old builder-grade EPDM still doing its job because the original crew knew what they were doing with deck prep and termination details. The membrane is important, but the intelligence behind the installation is what you’re really paying for.
At Dennis Roofing, every flat roof installation gets the same attention to the details that prevent callbacks: mechanically attached components go into solid substrate, not just through sheathing into air; every penetration gets a factory-made boot or custom-fabricated flashing, never field-improvised sealant jobs; and we test tapered layouts with physical mockups before we order the insulation so we know water will flow where we designed it to flow.
Planning for What Comes Next
One thing I always discuss with Brooklyn homeowners during flat roof installation: what might you want to do with this roof in 5, 10, or 20 years? Because decisions we make now affect your options later. If there’s any chance you’ll want a roof deck, we can install extra fasteners and reinforcement in the decking now for a few hundred dollars more-way cheaper than opening the roof later to add structure. If solar panels are in your future, we’ll map out pathways and attachment points that work with your membrane warranty. Thinking about a green roof? We’ll spec the insulation and deck capacity to handle soil weight and root barriers.
I installed a flat roof on a Gowanus rowhouse five years ago, and the homeowner said they’d never use the roof for anything. Last month they called wanting to add a deck. Because we’d built the roof with proper slope and overbuilt the deck fastening, we could install sleeper supports without penetrating the membrane-the deck project took two days instead of requiring a roof rebuild. That’s the value of working with a crew that thinks beyond just “put a roof on it.”
Your flat roof is the building’s primary weather barrier and a potential asset if you approach it correctly. Professional installation means understanding building science, material compatibility, Brooklyn-specific conditions, and long-term performance-not just rolling out whatever’s on the truck and hoping it lasts. When you’re ready to talk about your flat roof project, Dennis Roofing brings two decades of installation experience on every type of Brooklyn building, with the manufacturer certifications and in-field problem-solving skills that turn a basic roof replacement into a system that protects your investment for the next 25 years.