
Commercial Rubber Roofing Needs More Than a Standard Roofer – Here’s What We Bring
One approach extends the problem. The other ends it. Commercial rubber roofing should never be handed to a standard roofer who treats EPDM like just another flat surface – the membrane, seams, curbs, edge metal, drains, and penetrations all hit their cues together, and when one connection gets fumbled, the failure shows up later in a place that looks completely unrelated. Hiring a specialist isn’t a luxury. It’s how you stop paying for the same lesson twice.
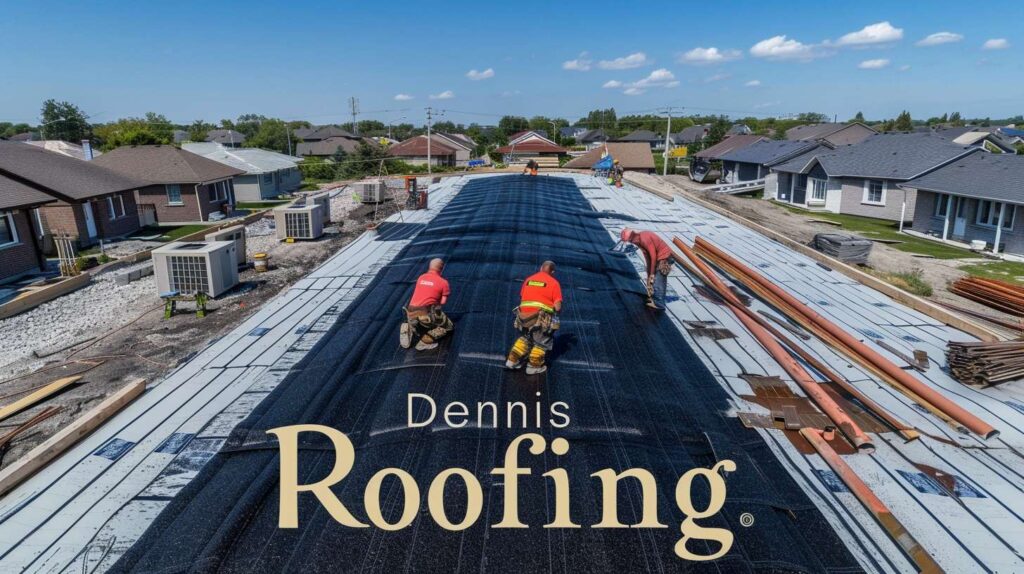
Why EPDM Work Falls Apart Under General Flat-Roof Logic
Bluntly: a commercial EPDM roof is less like a lid and more like a cue sheet in live production. Every component has a role and a timing – the seams, the penetration flashings, the edge terminations, the drain assemblies. When a standard roofer walks up there treating it like generic flat roofing, they’re skipping the script and improvising. And honestly, improv works great in comedy. On a Brooklyn warehouse roof in November, it costs you interior damage, repeat service calls, and warranty headaches that didn’t have to happen.
At 6:40 a.m., after rain, the roof usually tells the truth – but you have to know how to read it. I took a call at that hour from a Red Hook warehouse manager who was certain the drain was the problem because the leak was showing up directly over the loading bay. When we got up there, the real failure was a poorly handled EPDM seam at a curb twenty feet away from that drain. That’s the moment I started telling building owners: water is a liar on commercial roofs. I’m Stephanie Chu, and after 11 years coordinating commercial membrane crews across Brooklyn with a specialty in EPDM seams, flashings, and termination failures, I can tell you the mis-diagnosis is almost always baked in before the first phone call gets made. A standard roofer looks at the wet spot. A specialist traces the path that got it there.
⚠ Don’t Let a Clean Patch Fool You
A surface patch can look tight and still fail – if the seam prep was wrong, the adhesion didn’t bond properly, the edge wasn’t secured, or the flashing material isn’t compatible with your EPDM system. The expensive mistake isn’t that first repair bill. It’s the repeat leak six weeks later, the damaged interior operations, and the warranty dispute that follows because no one documented what was actually done or why.
Signals You Need a Specialist Before the Next Storm Tests the Roof
What repeat repairs usually mean
Here’s the part building owners are not told often enough: recurring leaks don’t automatically mean the membrane is aging out. They often mean the details were handled badly from the start. I stood on a school building in Sunset Park in February – gloves half-soaked, wind off the water – while a general roofer insisted the rubber membrane looked “basically fine.” The edge flashing had been patched three separate ways, and every single patch told the same story: somebody knew how to cover a symptom, not correct the assembly. Brooklyn stresses these systems hard – waterfront industrial blocks get wind exposure that standard low-slope logic doesn’t account for, winter freeze-thaw cycles work aggressively on parapet conditions and drain assemblies, and mixed-use buildings with heavy rooftop equipment density put foot traffic and curb stress into spots that never got designed for it.
Repeated patching, fishmouth seams that keep lifting at their edges, loose terminations that flex and re-open, ponding water collecting near drains that were already “cleaned,” and worn paths through the membrane around HVAC units – these aren’t individual problems. They’re the building’s way of telling you that someone has been treating symptoms while the actual assembly failure keeps running in the background. Each new patch just changes where the water exits next.
Water almost never enters where your ceiling stain is making its speech.
| What the owner notices | Likely roof-system issue | Why it gets misdiagnosed |
|---|---|---|
| Ceiling stain far from rooftop equipment | Failed EPDM seam or curb flashing upslope from stain | Roofer starts at the stain, not the water path |
| Leak only appears after wind-driven rain | Loose termination bar or unseated perimeter edge | Drain is blamed; edge conditions aren’t inspected |
| Ponding water around rooftop HVAC unit | Improper curb flashing or membrane stress from foot traffic | Drain is cleared; curb condition ignored |
| Same repair spot leaks again within one season | Seam adhesion failure or incompatible patch material | Surface was patched without checking bond prep or material match |
| Odor or mold in ceiling near parapet wall | Moisture trapped behind poorly terminated membrane edge | Interior is treated; the parapet termination never gets opened |
Which roof details deserve immediate scrutiny
8 Red Flags That the Wrong Contractor Touched Your EPDM Roof
-
⚠
The same leak returns after a patch – same location, next rain event -
⚠
Sealant smeared over seam edges instead of proper seam tape or bonding adhesive -
⚠
Edge flashing repaired with mixed materials from multiple past visits -
⚠
No mention of terminations during the diagnosis or scope conversation -
⚠
Zero discussion of rooftop traffic paths or equipment access wear -
⚠
Drain was blamed for ponding without any inspection of upstream conditions -
⚠
Repair quote includes no membrane brand, no adhesive process, no field notes -
⚠
No before-and-after photos of actual field conditions – just a final invoice
Open to see the hidden trouble spots on commercial rubber roofs:
How a Commercial Rubber Roofing Contractor Actually Diagnoses the System
A real diagnosis is a sequence, not a guess. You trace the water path first, then work backwards through the system: inspect the field membrane seams, review the flashings at every penetration and curb, check edge conditions and termination integrity, assess drainage and ponding patterns, evaluate wear along rooftop traffic routes, and examine every penetration from boot to counterflashing. Only after that full picture is in front of you do you connect the findings to the leak pattern. Think of it like a cue sheet where one missed connection sends the failure somewhere unexpected – and someone has to trace every line in sequence to find where the cue dropped. Skipping steps doesn’t save time. It just reschedules the problem.
I’ve watched this happen in Brooklyn more than once. One property owner in Bushwick walked me across his roof at dusk, proud of a repair done after a holiday weekend emergency – I could still see the fresh adhesive line. But I could also see unprotected rooftop unit traffic paths, seam stress near two mechanical curbs, and an edge termination that had never been addressed. He thought he’d bought a repair. What he actually bought was a delay until the next weather event made the case for him. Here’s the insider tip worth writing down: ask any contractor, “What nearby conditions did you inspect and rule out?” A specialist will walk you through the adjacent seams, the penetrations, the edge details, and the traffic zones they checked. A patch contractor will point back at the adhesive line and change the subject.
-
1
Interview and leak-history review
Owner or manager describes when leaks occur, what weather triggers them, and where every prior repair was made – this timeline is evidence. -
2
Interior stain-to-roof mapping
Ceiling stains are photographed and cross-referenced against roof plan to identify likely water travel paths – not assumed entry points. -
3
Field membrane seam inspection
Every seam in the suspect zone is physically tested for adhesion, edge lift, fishmouth formation, and material compatibility. -
4
Penetration and curb review
Each HVAC curb, pipe boot, conduit, and vent is examined at the base transition, counterflashing seat, and flashing height – evidence of stress is noted. -
5
Drainage and ponding assessment
Drain flow rates, clamping ring condition, and ponding zones are mapped – upstream conditions like curb proximity are checked before the drain is cleared or blamed. -
6
Edge and termination check
Full perimeter is walked – termination bar tension, gravel stop position, membrane edge overlap, and drip edge condition are all documented with photos. -
7
Repair scope tied to photos and failure cause
Every recommended repair is linked directly to a documented finding – no scope item exists without a photo and a stated reason for the failure.
Repair, Targeted Restoration, or Replacement? Start Here.
Is the leak tied to an isolated EPDM detail failure, or a repeated system-wide breakdown?
Isolated detail failure – membrane field is sound
→ Targeted specialist repair addressing the specific failure point with compatible EPDM materials and documented workmanship.
Multiple failing details – membrane still has service life
→ Broader corrective restoration plan that addresses seams, edges, penetrations, and drainage together – not sequentially as each one leaks.
Seams, edges, drainage, and membrane all declining
→ Replacement discussion – continued repair investment on a system-wide failure is risk management in the wrong direction.
Unknown – no one has traced the source
→ Schedule a specialist inspection before approving any patchwork. Guessing is how you fund a repeat failure.
Questions That Expose Whether the Bid Is Real or Just a Patch Ticket
What to ask before approving any repair
If I asked you where the leak started, would you point to the stain or the system? That’s the question worth putting to any contractor before you sign anything. Ask whether they can explain the assembly – the seam type, the flashing method, the edge detail, the membrane brand – or whether they’re just pointing to a wet spot and quoting a patch. A real commercial rubber roofing contractor can tell you why the failure happened, not just where it showed up.
You don’t need to become a roofing technician to vet a bid. But you do need answers: How did they verify the leak origin? Did they inspect seams and terminations beyond the visible damage area? Are the repair materials matched to your existing EPDM system? What surrounding conditions were checked and ruled out? And what warranty language actually applies to the repair scope – not the membrane alone, but the labor and the workmanship. If those answers aren’t in the bid, the bid isn’t finished.
☑ Before You Call a Commercial Rubber Roofing Contractor in Brooklyn – Ask These 7 Questions
-
01.
What membrane system do you believe is installed on this building – and how are you confirming that before you order materials? -
02.
How do you verify the actual leak origin rather than starting at the interior stain location? -
03.
Will seams and terminations be inspected beyond the visibly damaged area – or only the spot I showed you? -
04.
Can I expect before-and-after photos of the actual field conditions – not just a completed job shot? -
05.
Are there rooftop traffic patterns or equipment access routes that factor into the failure – and will those be addressed in scope? -
06.
How are repair materials matched to the existing EPDM – what adhesives, patch materials, and flashing products are you specifying? -
07.
What warranty language covers this repair scope – specifically the workmanship, not just the membrane manufacturer’s material coverage?
Practical Questions from Brooklyn Building Owners
If you need a commercial rubber roofing contractor in Brooklyn who will trace the failure instead of dressing it up, call Dennis Roofing. We’ll tell you what the roof is actually doing – not just what’s easiest to patch.
Serving Brooklyn, NY – from Red Hook to Bushwick and every block between.